


Suspension is where comfort, control, and safety meet. If you are choosing your first upgrades, the right path depends on how you use the car each week. Below is a practical, Australian context guide that explains components, legal limits, stages, costs, and where to start for daily commuting, weekend track work, spirited street driving, and 4x4 or towing duties. The objective is to help you spend once, install correctly, and stay road legal.
Quick answers to common questions
- Is it worth upgrading car suspension? Yes, provided you have a clear goal. The gains are improved stability, braking consistency, steering feel, and comfort or load control. Poorly matched parts will waste money, so plan by use case.
- Can you upgrade the suspension on a car? Yes. Springs, shocks, coilovers, sway bars, bushings, and alignment settings are all upgradeable on most vehicles. Legality and insurance obligations apply in each state and territory.
- When to upgrade suspension? If you notice excess body roll, poor braking stability, bottoming out, uneven tyre wear, leaking shocks, or if your use case changes, for example towing a van now or doing track days.
- How much does it cost to get a suspension upgrade? Typical parts budgets are included below, but a light daily driver refresh may start around $800 to $1,500 for shocks and springs, while adjustable coilovers for performance use may range from $1,200 to $4,000+, and full 4x4 touring kits can range from $1,800 to $4,500+ depending on load rating.
- How much is labour to install suspension? Independent workshop rates commonly run $90 to $160 per hour. Expect 3 to 8 hours depending on platform, condition, and if bushings or arms are added. A wheel alignment is essential and charged separately.
- Do sway bars make a difference? Yes. Sway bars reduce body roll, which increases mid-corner stability and steering response without compromising ride quality as much as stiffer springs would. Do sway bars affect alignment? Bars, by themselves, do not change static alignment figures; however, installation can alter bushing pre-load or ride height slightly, so an alignment check is still recommended after suspension work.
- Who makes the best suspension in Australia? There is no single best. Reputable options include local and global brands with clear specs and support. Choose based on testing, warranty, serviceability, and whether the damping range and spring rates match your use case.
What parts do what, in plain terms
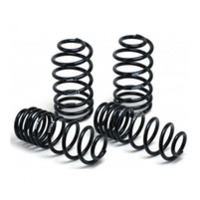
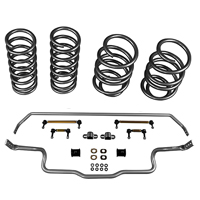
- Springs set ride height and primary rate. Higher rate reduces squat and roll but increases firmness.
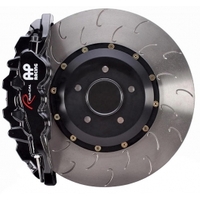
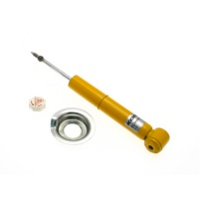
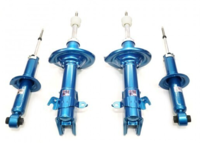
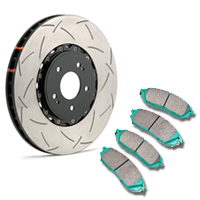
- Shocks or struts control the spring; good damping improves comfort, grip consistency, and braking stability.
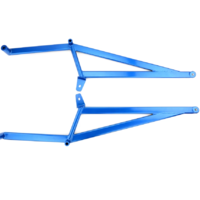
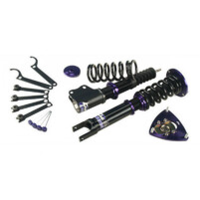
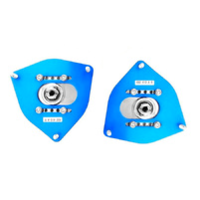
- Coilovers integrate spring and adjustable shock in a matched package; often add ride height and damping adjustment, sometimes camber plates.
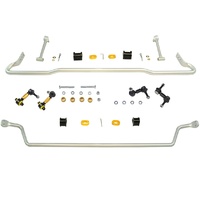
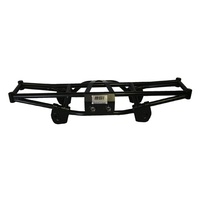
- Sway bars link left and right suspension to resist roll; they sharpen transitions and help balance understeer or oversteer.
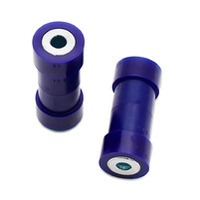
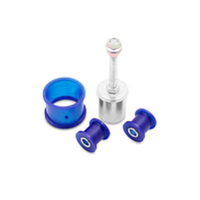
- Bushings isolate or control movement at mounting points; stiffer materials improve precision but may add NVH
- Alignment sets camber, caster, toe. It has the biggest dollar for dollar impact on tyre life and handling feel after any hardware change.
- Tip, before buying, review fitment notes for spring rates, ride-height ranges, required supporting parts, and whether OEM top mounts can be reused. Car Mods Australia product pages include these details to reduce guesswork, and the vehicle selector helps you filter only parts that fit.
Legality in Australia, ride height rules, and engineering certificates
- Ride height: Most states follow similar guidance to the National Code of Practice. A modest change of up to 50 mm total ride height change is commonly permitted without certification, subject to conditions, but rules vary by jurisdiction. Lowering beyond the threshold, or any lift beyond certain limits on 4x4s, may require certification.
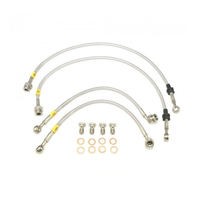
- Damper and spring changes: Direct replacement components of similar form are usually permitted, if they maintain safe operation and do not interfere with steering lock, braking lines, or headlight aim requirements.
- Coilovers: Legal if they maintain proper travel, bump stop function, and do not exceed height change limits. Height adjustable kits should be set within legal range. Thread exposure and locking collars must be secure.
- Track width, tyres, and brakes: If you alter wheels or arms that increase track, check allowable increases. Tyre load and speed ratings must meet or exceed OEM specifications. Engineering certificates: Required if you exceed height or track limits, fit custom arms, convert suspension type, or make structural changes. Use an accredited engineer and keep documentation for registration and insurance. When in doubt, consult your state authority website, or a licensed workshop familiar with VSB 14 and local codes.
Upgrade stages by use case
The sequences below prioritise safety, legality, and value. Pricing is indicative, parts only.
Daily driver, comfort and confidence
- Stage 1: Quality OEM-plus shocks and matched springs; fresh top mounts and bump stops; standard alignment with a slight front toe-in for stability. Cost: $800 to $1,500
- Stage 2: Add sway bars for flatter cornering; consider rubber or hybrid bushings at control arms if original bushes are cracked. Cost: $400 to $1,200.
- Stage 3: Premium shocks with adjustable damping for fine tuning, plus a performance alignment with a little negative camber if tyre clearance and regulations permit. Cost: $1,200 to $2,500.
Install notes: Torque all fasteners at ride height to prevent bushing wind-up; replace single-use hardware; always finish with alignment.
Spirited street and weekend track
- Stage 1: Entry to mid-tier coilovers with known spring rates suited to your platform, plus camber bolts or top plates. Cost: $1,200 to $2,500.
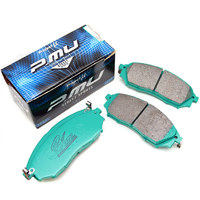
- Stage 2: Front and rear sway bars to fine tune balance; adjustable end links to remove preload; upgraded pads and fluid to match higher corner speeds. Cost: $600 to $1,800 plus brakes.
- Stage 3: Poly or spherical bushings at key locations, roll centre/bump steer correction on lowered cars, and corner weighting if your coilovers support it. Cost: $800 to $2,000
Install notes: Start with baseline damper clicks, log changes in pairs, and prioritise tyre temperatures and even wear as your tuning feedback.
Towing and load carrying
- Stage 1: Heavy duty springs matched to actual ball weight and payload, plus shocks with firm low speed compression to control sway. Cost: $1,000 to $2,000.
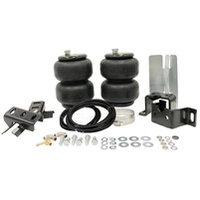
- Stage 2: Rear airbags used as assist only, not as a substitute for correct spring rate; weight distribution hitch as appropriate; towing sway control bar if needed. Cost: $400 to $1,200.
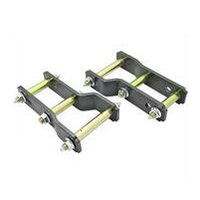
- Stage 3: Additional leaf or upgraded coils, premium dampers with heat resistance, and uprated bushes at trailing arms or panhard rod. Cost: $1,200 to $3,000.
Install notes: Set rear ride height neutral with towing load on the vehicle; re-aim headlights; verify brake controller function.
Suspension 4x4 and touring
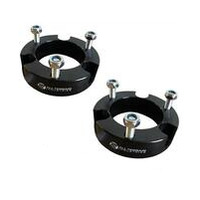
- Stage 1: 30 to 50 mm lift kit with matched shocks, springs rated for added accessories, and alignment correction for caster on IFS models. Cost: $1,800 to $3,500.
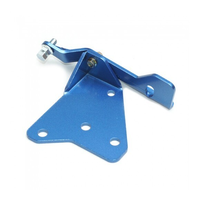
- Stage 2: Sway bar upgrades or disconnects depending on articulation goals; upgraded panhard/track bar and steering damper as required. Cost: $500 to $1,500.
- Stage 3: GVM upgrade where available and legal, engineered and certified; extended brake lines and bump stop tuning for travel. Cost: varies, certification required.
Install notes: Check tailshaft angles and driveline vibration after lifts; secure brake lines at full droop; confirm clearance at full lock and bump.
Alignment, the unsung hero,
After any change, an alignment is mandatory. Typical settings:
- Daily comfort: close to factory, a touch more caster if adjustable for stability.
- Spirited street: mild negative camber front and rear where available, near-zero toe for tyre life.
- Track: more negative camber and precise toe to manage heat; verify against tyre wear and lap consistency.
- Towing and 4x4: restore caster after lifts; ensure rear thrust angle is correct to avoid steering pull.
- Budget $90 to $180 for a standard alignment, more for performance or multi-point adjustments.
Pros and cons, by component
- Springs and shocks: best balance of cost and comfort; limited adjustability.
- Coilovers: broad adjustability and performance headroom; more maintenance and setup attention.
- Sway bars: big handling gain per dollar; may reduce independence on very bumpy roads if set too stiff.
- Bushings: sharper response; potential NVH increase depending on material.
- Air suspension: height control benefits and load leveling; complexity and higher cost.
Installation time and labour expectations
- Shocks and springs, most passenger cars: 3 to 5 hours.
- Coilovers with camber plates: 4 to 6 hours, plus setup.
- Sway bars: 1.5 to 4 hours depending on access and subframe drops.
- Bushings: 2 to 8 hours depending on press work and seized hardware.
- Post work: alignment 0.5 to 1.5 hours, corner weight session 1 to 2 hours.
Use new top mount bearings where applicable, replace perished rubber, and observe torque specs from the workshop manual.
Reducing guesswork with CMA tools
To avoid mismatches, use the vehicle selector to view only compatible kits, and read the fitment notes for spring rates, lift or drop ranges, hardware reuse, and any engineering implications. If you are building a tow rig or a weekend track car, that level of clarity prevents double buying. When you are ready, you can explore car suspension upgrade options, including coilovers and sway bars, using those filters and specs to choose confidently.
- Explore coilovers that fit your model with clear spring rate and height data under our suspension category.
- If you are preparing a touring ute, browse suspension 4x4 options with load ratings and lift details that match barwork and accessories.
- If you prefer to compare a wide selection of auto parts online across brands, the site presents specs, images, and compatibility data in one place.
Note, include only what you need for your use case. Over-springing or excessive lowering may reduce grip on rough surfaces and can breach local regulations.
Summary and next steps
Suspension upgrades are worth it when aligned to a specific goal and installed with care. Start by defining your use case, then choose a staged path that addresses shocks and springs first, verifies alignment, and only then adds sway bars, coilovers, or bushings as needed. Budget realistically for parts and labour, confirm legality before changing ride height, and document any engineered modifications. With fitment notes, a clear vehicle selector, and a broad range of reputable brands, Car Mods Australia helps you move from plan to installation with fewer surprises. If you are ready to improve comfort, sharpen handling, or stabilise a tow rig, start with the basics, measure results, and build from there.


